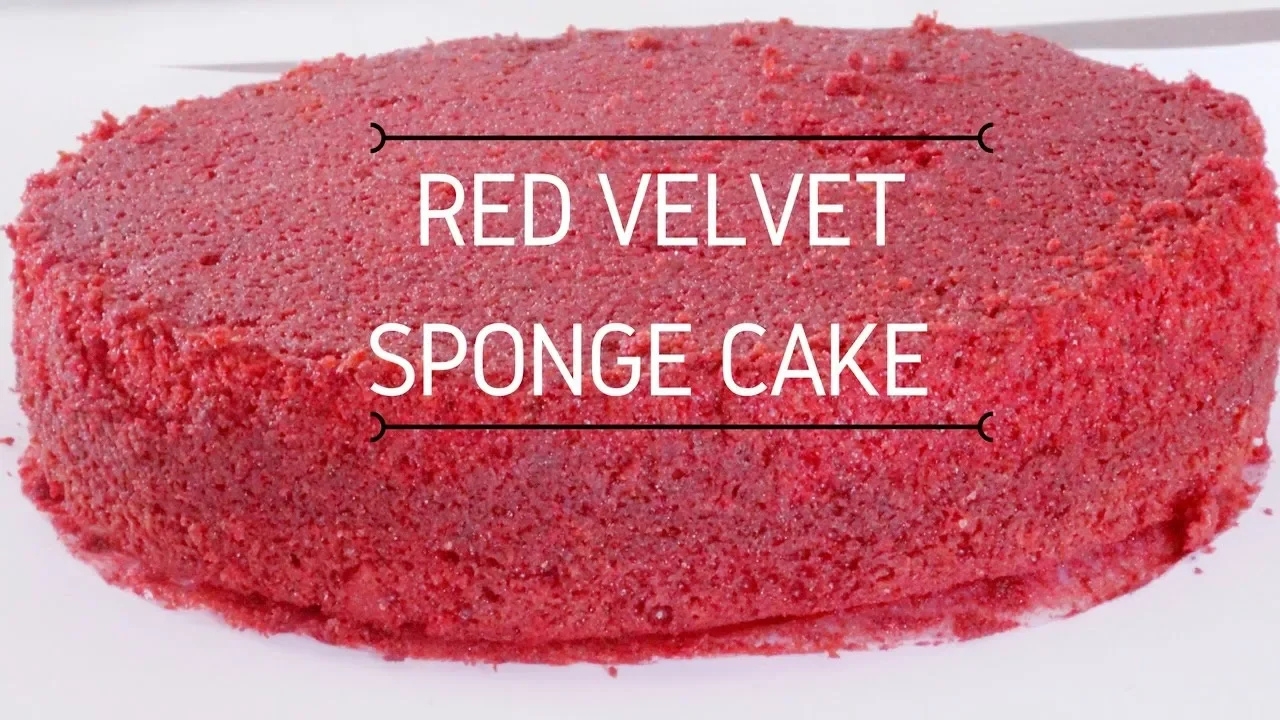
Red Velvet Sponge Cake
Red Velvet Sponge Cake
🥄 Prep: 15 min
🔥 Cook: 10 min
🍽 Serves: 2 servings
A rich, moist, and vibrant Red Velvet Sponge Cake that proves baking from scratch is always worth it.

Why You’ll Love This Recipe
Get ready to fall in love with this stunning Red Velvet Sponge Cake that is as beautiful as it is delicious! Baked with warmth and care by Neetu Sirigiri, MasterChef India Telugu Top 8 finalist, this recipe brings a bakery-style showstopper right into your home kitchen.
Buttermilk adds a gentle probiotic boost while cocoa powder brings antioxidant goodness to every velvety slice. This cake is crafted with real, wholesome ingredients that nourish your body even as you indulge your sweet tooth.
- ✅ Buttermilk tenderizes the crumb naturally and supports gut health with its probiotic properties
- ✅ Cocoa powder is packed with antioxidants that help reduce inflammation and support heart health
- ✅ Using real eggs provides high-quality protein and essential nutrients that keep you fuller for longer
- ✅ Baking at home means you are in full control of your ingredients with no hidden preservatives or artificial additives
Ingredients You’ll Need
(Full measurements in the recipe card below)
Wet Ingredients
- • 1/2 cup oil — keeps cake moist
- • 1/4 cup butter — adds richness
- • 2 eggs — structure and lift
- • 1/2 cup buttermilk — tender crumb
- • 2 tbsp cream — extra moisture
- • 1 cup sugar — sweetness and texture
- • 1 tsp vanilla essence — flavour base
- • 1 tsp vinegar — reacts with soda
- • red food colour — signature colour
Dry Ingredients
- • 1.5 cups maida — main structure
- • 1 tbsp cocoa powder — subtle chocolate note
- • 1/2 tsp baking soda — rise and fluff
- • pinch of salt — balances sweetness
Substitutions
| Ingredient | Swap |
|---|---|
| buttermilk | milk plus 1 tsp vinegar, rest 5 min |
| eggs | 2 flax eggs for eggless version |
| maida | gluten free flour blend 1 to 1 |
How to Make It — Step by Step
Cream Wet Base
Beat butter, oil and sugar until light. Add eggs one at a time, then vanilla and red food colour.
Add Buttermilk
Mix buttermilk and cream into the wet mixture. Stir vinegar in last.
Fold Dry Ingredients
Sift maida, cocoa, baking soda and salt together. Fold gently into wet mixture until just combined.
Bake
Pour into greased tin. Bake at 170 C for 30 to 35 minutes until a skewer comes out clean.
Cool and Serve
Cool in tin for 10 minutes, then turn out on a wire rack before frosting or slicing.
Tips for the Best Result
Make sure your eggs, buttermilk, and butter are all at room temperature before you begin. This helps the batter mix evenly and gives you a smoother, fluffier sponge.
Once you add the flour, fold gently and stop as soon as the batter comes together. Overmixing develops gluten and will make your cake dense instead of light and airy.
Add red food colour a little at a time until you reach your desired shade. The cocoa powder will deepen the colour as it bakes, so you do not need to go overboard at the mixing stage.
How to Store
Frequently Asked Questions
Yes, replace each egg with 3 tablespoons of yogurt or a flax egg (1 tbsp flaxseed meal plus 3 tbsp water) for an eggless version.
Mix 1/2 cup of regular milk with 1/2 tablespoon of vinegar or lemon juice, let it sit for 5 minutes, and it is ready to use.
Yes, beetroot powder works well as a natural alternative; start with 2 teaspoons and adjust to get the red shade you want.
This usually happens when the oven is opened too early or the baking soda is not fresh. Make sure you do not open the oven before the cake is at least 80 percent done.
Nutrition Per Serving
| Nutrient | Per Serving (2 servings) |
|---|---|
| Calories | — |
| Protein | — |
| Carbohydrates | — |
| Fiber | — |
| Fat | — |
| Sugar | — |
Estimates only — values vary with exact brands used.
Ingredients
- → 1+1/2 cup of maida/flour
- → 1/2 cup oil
- → 1 cup sugar
- → 1 tsp of vanilla essence
- → 1 tsp of vinegar
- → 1/4 cup of butter
- → 2 eggs
- → 1/2 cup of buttermilk
- → 2 tbsp of cream
- → Red food Colour
- → 1/2 tsp of Baking soda
- → Pinch of salt
- → 1 tbsp of Cocoa powder
Instructions
- 1. Beat butter, oil and sugar until light. Add eggs one at a time, then vanilla and red food colour.
- 2. Mix buttermilk and cream into the wet mixture. Stir vinegar in last.
- 3. Sift maida, cocoa, baking soda and salt together. Fold gently into wet mixture until just combined.
- 4. Pour into greased tin. Bake at 170 C for 30 to 35 minutes until a skewer comes out clean.
- 5. Cool in tin for 10 minutes, then turn out on a wire rack before frosting or slicing.
▶ Watch Me Make It
See every step in action.
MasterChef India contestant turned healthy baking creator. I specialise in eggless, no-oven, and gluten free recipes made with real ingredients — no protein powder, no shortcuts. Subscribe on YouTube for a new recipe every week!
Enjoyed this recipe?
Follow me for new healthy baking recipes every week!
Give this Red Velvet Sponge Cake a try and let it bring a little drama and delight to your table. If you bake it, share your creation on Instagram and tag us at bakewithneetu so we can celebrate your bake with you!
//600?”block”:”none”;};})();
//]]>